Monday, June 23, 2014

Walking Foot Quilting Round Up

We have been so inspired lately by all of the great techniques quilters are using for quilting with a walking foot!

For those who aren't familiar, using a walking foot allows the top layer of your quilt to feed at the same speed as your bottom layer. It prevents bunching and helps the quilt feed evenly.

For those who aren't interested in free motion quilting, want a break from it, or just want to give something else a try, quilting with a walking foot may be the answer!

Simple cross-hatched lines are tried and true, and changing up the scale of them can really make an impact - like these tiny diagonal lines from Canoe Ridge Creations:

Concentric circles are simple to do with a walking foot and give a dramatic finish. Learn how to do them in this tutorial from Blooming Poppies.


Jan T shares lots of tips on using a walking foot, including how to do gentle curves for borders, in her tutorial.
Get a honeycomb look with these tips from Crazy Mom Quilts.


Want more ideas for quilting with your walking foot? Visit our Walking Foot Quilting Pin Board!

Friday, June 20, 2014

Wednesday, June 18, 2014

Denim Organizer

Make this fun organizer by recycling old jeans! You'll have a place to hang all your sewing supplies within arm's reach!

Monday, June 16, 2014

Pipe Cleaner Ties


Make these handy pipe cleaner ties that are both fashionable and functional! Use them to keep tangled cords under wraps, as napkin rings, wine glass identifiers and more! 
These are so simple to make, you'll find dozens of uses!

Tuesday, June 10, 2014

Decorative Stitch Binding

Have you tried adding a decorative stitch to your binding? It's so simple, and you'll love the results!


First, stitch the open edge of single-fold binding to the front of your project using a 1/4" seam. Miter the corners.


Wrap the folded edge of your binding to the backside of your project. You may wish to fuse it in place with 1/4" wide fusible web. Miter the corners on the backside and press well.


Set up your machine with a foot with a center guide. Choose a thread that will show up well. We used Mettler Silk Finish 50 weight in the needle and the bobbin.

Stitch your decorative stitch from the frontside, stitching through the binding. You can center your decorative stitch so the stitch is half on the binding and half on the quilt, or move the stitch so the entire decorative stitch is on the binding. Either way, choose a stitch that "bites" into the binding at least 1/16" of an inch. You want to be sure you are catching your binding on the backside all the way around. Use binder clips to help hold the binding to the back side.


For our example, we choose a blanket stitch and set it so the spine of the blanket stitch landed exactly in the ditch of the binding and the teeth bit into the binding.

Using a decorative stitch not only gives your binding a little flair, it also helps catch the backside of the binding more securely.


Monday, June 9, 2014

Scrappy Mini Quilt

Make this adorable mini quilt to hang on the wall, or as a coaster for a sweaty summer drink!
Supplies Needed:


  • Five 2 1/2" squares of background (white) fabric
  • Five assorted 2 1/2" squares of print fabrics (sample used "Kimberly's Garden" by Freshwater Designs)
  • Mettler Transfil in Clear (or Smoke if using dark fabrics)
  • Mettler Silk Finish 50 weight (sample uses Color No. 0577)
  • 5 1/2" square backing fabric
  • 5 1/2" square batting 


Pair the white squares with the patterned squares, right sides together.

Draw a diagonal line across the center of each set of squares.


Stitch 1/4" from the marked line on both sides.


Cut apart the two triangle units by cutting along the marked center line.

Press the half-square triangle units to the print sides.

Cut off the "dog ears" from each square.

Arrange the squares in a 3 x 3 block, rotating every other block so the colored triangles alternate with the white triangles. You will have one extra half-square triangle.


Piece each row together with a 1/4" seam, pressing toward the patterned fabric.


Stitch the three rows together, matching seams.


Press the finished square and square up. The finished square should measure approximately 5 1/4".

Lightly spray the 5 1/2" square of batting with Web Bond Temporary Adhesive Spray. Smooth the quilt onto the batting.

Lightly spray the backing piece with Web Bond Temporary Adhesive Spray. Smooth onto the back of the batting.


Quilt through all layers as desired. (See our post on stitching over the ditch for ideas)

Trim the quilted square to 5 1/4". Bind as desired. (See our post on binding with a decorative stitch for ideas).


Stitching OVER the Ditch

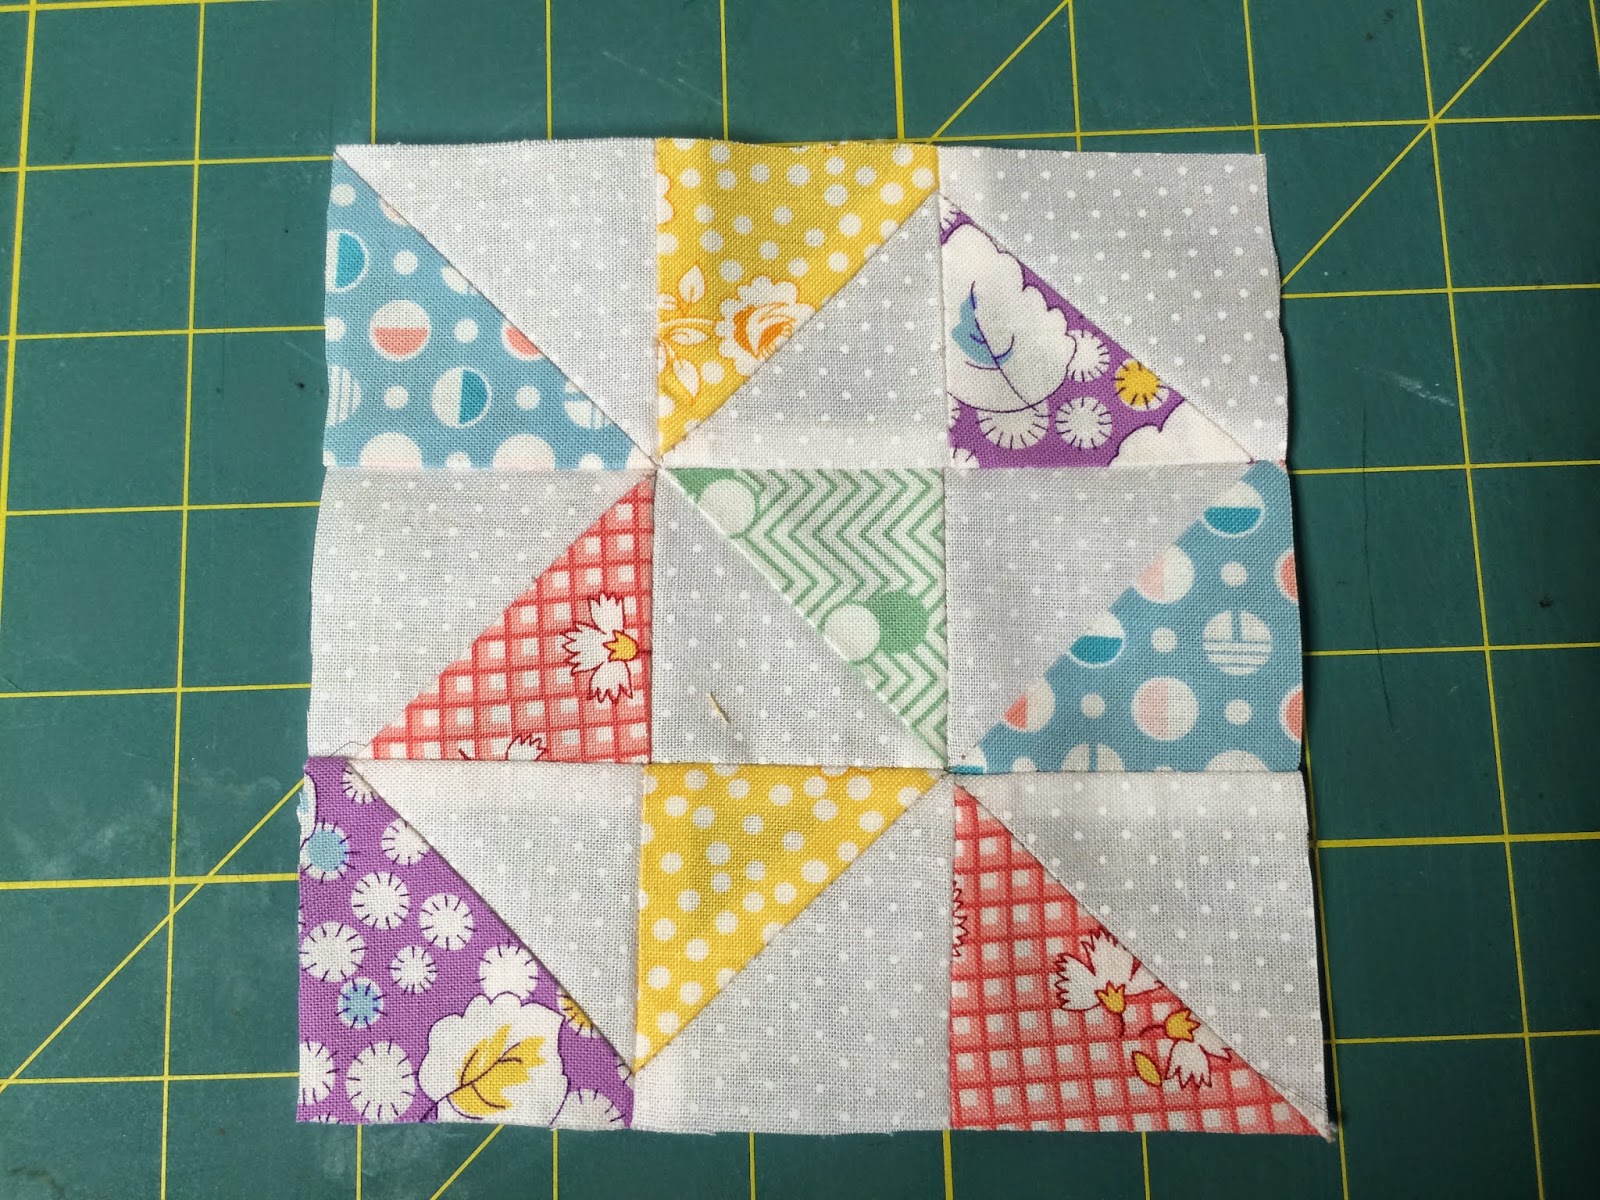
If you're a quilter, you're probably familiar with the term "Stitch in the Ditch". This is a method of quilting where your quilt directly in the seam lines of your quilt.

Quilters turn to it for two reasons - because it emphasizes the piecing, and because it often seems easier than other types of quilting. It can be done in straight or mostly straight lines with a walking foot and feed dogs.

Another option similar to stitching in the ditch is to stitch OVER the ditch. Instead of stitching a straight line, try a zig zag or serpentine stitch.

Stitching over the ditch gives you a different look to your quilting, and it has another advantage - if you veer slightly from the center, it doesn't show as much. The same holds true for if your piecing is slightly less than perfect - this quilting technique can help mask those imperfections.

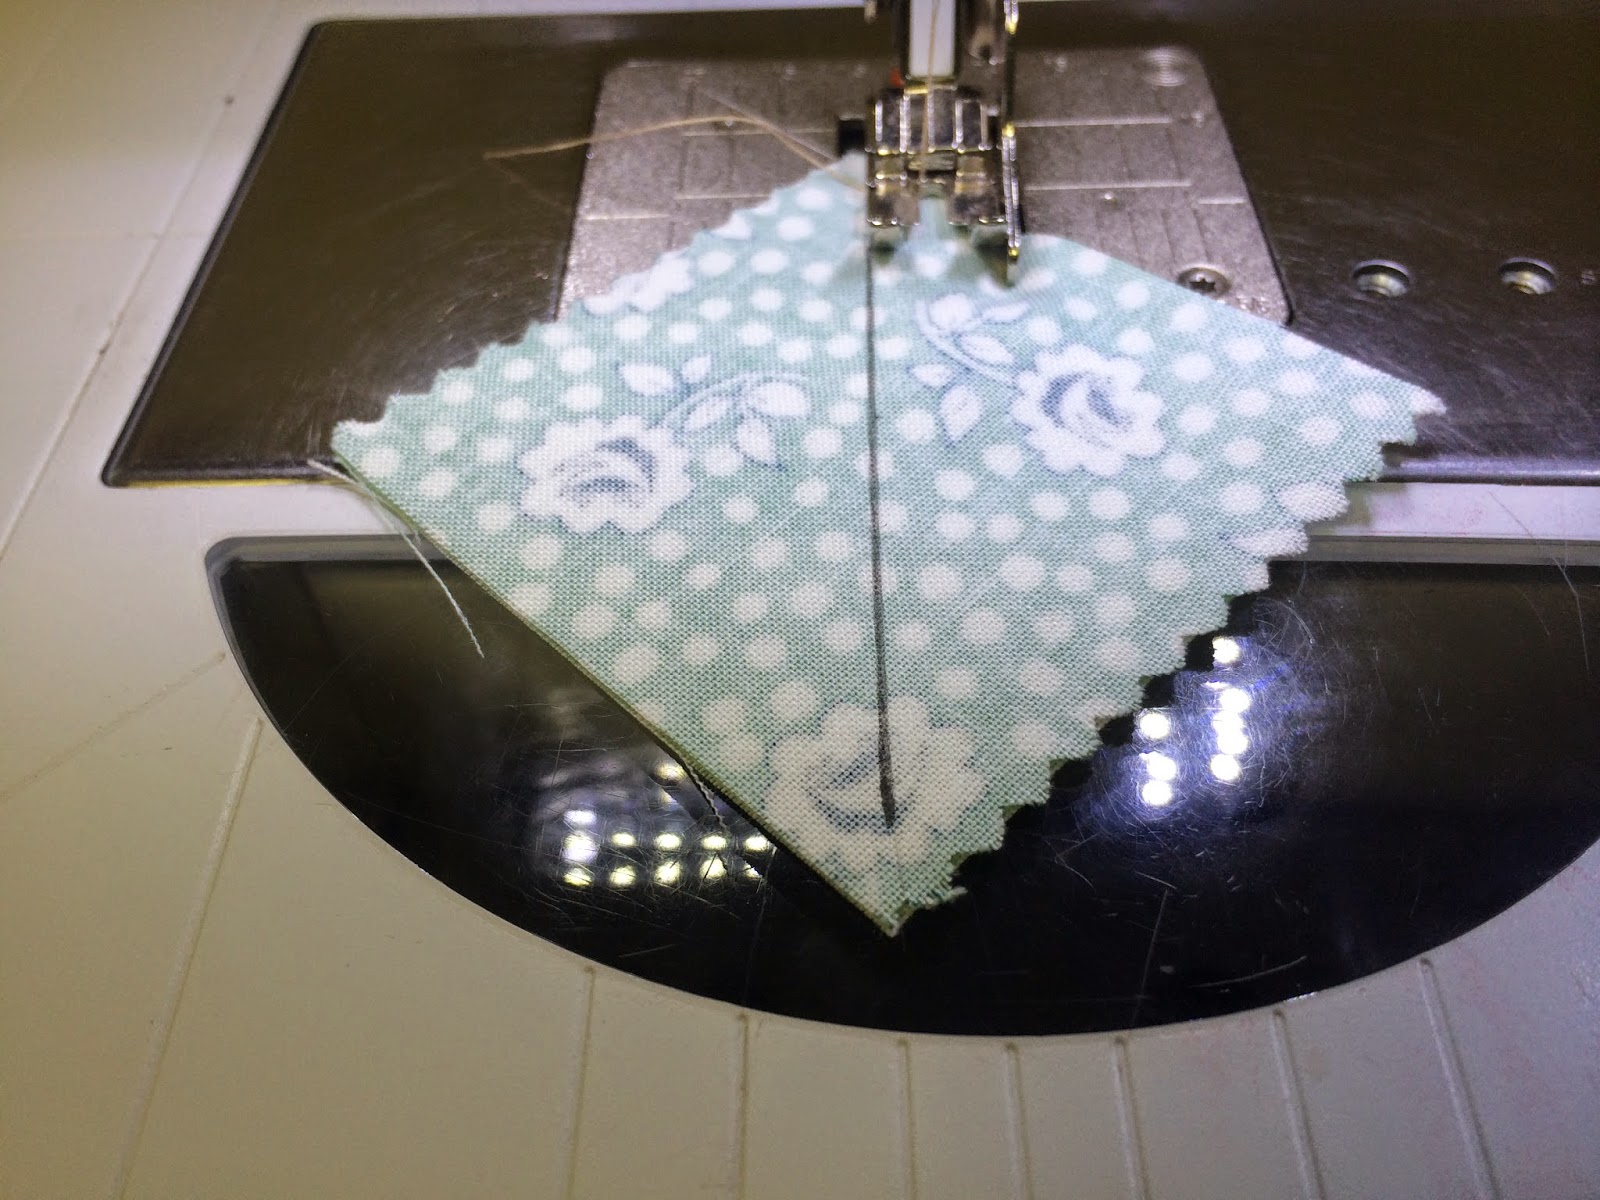
 The setup for stitching over the ditch is very similar to setting up for in the ditch. Attach a foot with a center guide or a walking foot with a center guide. Thread the machine with Mettler Transfil transparent thread (use clear for light colors or smoke for dark colors).

An excellent choice for stitching over the ditch is a running stitch. A running stitch looks similar to a zig zag but runs back and forth from side to side. Lengthen the running stitch to get a smooth serpentine stitch.

Once your machine is set up, threaded, and your stitch selected, stitch over the seam lines, keeping the center guide of your foot aligned with your seam.
Another option for stitching over the ditch is a simple zig zag. You can zig zag over your seams in nearly any width. A narrow zig zag will give you the most emphasis on your piecing.


Experiment with different stitches to find results you love. If you are using this technique to help hide imperfections in your piecing, avoid stitch types with a center line (like a feather stitch).

Wednesday, June 4, 2014

Sunglasses Case

We found this awesome Sunglass Case tutorial on Crazy Little Projects.


So easy and done in like, 10 minutes!

We made one little modification that we think adds a real fashion upgrade - we quilted the outer layer before assembling it!

For those of you who love the quilted handbag look, it's so easy to acheive.

Spray the batting lightly with Web Bond temporary adhesive spray and add the batting to the back of the outer fabric layers. Then mark a cross-hatched grid using a temporary fabric marker and quilt ruler.

Thread your machine with Mettler Silk Finish cotton in 50 weight. Choose a bold color that will show up on your project!

Stitch over the grid lines on both pieces.

 Remove the temporary markings.
Now finish the case according to the tutorial directions. We love the results!

Monogrammed Tie

Make the cliche Father's Day gift special by monogramming a beautiful tie!

Prepare your monogram embroidery file in your embroidery software or by combining letters in your embroidery machine. The finished monogram should be about 3/4" tall and 1/5" wide.

Mark the center for your monogram using a marking pencil. Draw a horizontal line from the two corners forming the bottom point of the triangle.


Draw a vertical line down the center of the tie, making sure it lines up with the point of the tie.


Hoop a piece of tear away stabilizer. Mark the center of the hoop with a pen. Spray the hooped stabilizer with Web Bond Temporary Adhesive Spray.


Place the tie onto the stabilizer, lining up the mark on the tie with the mark on the stabilizer. Open out the back flaps of the tie so there is only the tie point adhered to the stabilizer. Smooth into place. 

Thread your machine with Polysheen embroidery thread, choosing a color that complements the tie. 
Use a size 70/10 sharp embroidery needle. Center the design over the marked centerpoint. Stitch a rectangular basting box around the area you will be embroidering. 


Embroider the design. When the design is complete, first remove the basting stitches by clipping the bobbin thread on the backside of the stabilizer.
Tear away the excess stabilizer from the back of the tie.
And you're done! What an elegant gift!