Here are just a FEW of the our favorite quilts from the show today!
What an amazing display of talent and creativity!
Monday, October 27, 2014
Sunday, October 26, 2014
International Quilt Market Day One - the Vendor Mall!
Wow, we are having a great time at Houston Quilt Market! Here are some highlights from Day One - we spent today exploring the vendor mall. Check with us tomorrow for pictures of some of our favorite judged quilts!
Wednesday, October 15, 2014
Pocket Tutorial Roundup
Who doesn't love a nice pocket? They're so handy for stashing things, and can also make such great decorative elements to our projects!
We've rounded up a few helpful tutorials for pocket-making for you - Enjoy!
From Joyfoolery, a tutorial on making a curved-bottom pocket without burning your fingers from pressing!

Check out this accordion pocket from Jamie Christina! What a fun addition to an apron or bag!


We've rounded up a few helpful tutorials for pocket-making for you - Enjoy!
From Joyfoolery, a tutorial on making a curved-bottom pocket without burning your fingers from pressing!
Check out this accordion pocket from Jamie Christina! What a fun addition to an apron or bag!
A perfect welt pocket can make an outfit. Try this tutorial from WorkRoom Social.
This gathered pocket tutorial from Tye Dye Diva is simply adorable:
And here is a whole series of pocket tutorials from ikat bag!
Sunday, September 21, 2014
Phone Charger Caddy
Make this handy phone charger caddy for any size phone. Simply follow the instructions below to make a pouch to hold your phone while it charges - It's especially handy when travelling!
Download a pdf version of these instructions here.

What You Will Need:
• Mettler Metrosene® thread
• 1 Curtain grommet, 1 1/2 inch center diameter
• Normal sewing supplies
• 1/4 yd X 42 inches fabric (or 2 fat quarters for fabric if different lining fabric wanted as shown)
• 1/4 yd X 21 inches piece of heavy cutaway stabilizer


Step 4: It will be easier to sew the edge stitching before you put the grommet in. To do this, start at the bottom corner where the fold is and sew around 3 sides catching the opening you used for turning. Depending on the usage, you may want to backstitch the entrance to the pocket several times. Now take a snip with your scissors in the middle of the grommet circle to give you a starting place. Cut out the hole. Snap in the grommet.
Step 5: To use your pocket for cord storage, simply place the cord you have in the pocket and fold over


Download a pdf version of these instructions here.
What You Will Need:
• Mettler Metrosene® thread
• 1 Curtain grommet, 1 1/2 inch center diameter
• Normal sewing supplies
• 1/4 yd X 42 inches fabric (or 2 fat quarters for fabric if different lining fabric wanted as shown)
• 1/4 yd X 21 inches piece of heavy cutaway stabilizer
Determining Project Size
1. Measure your phone length and width with case if you have one.
2. Add 9 inches to length and 2 inches to width to determine fabric and stabilizer size needed.
Example: Phone w/case in picture was 4 1/2 inches long and 2 1/2 inches wide so the fabric and stabilizer were cut to 13 1/2 inches long and 4 1/2 inches wide.
Step 1: Cut out 2 pieces of fabric and 1 piece of stabilizer to size determined above and stack with fabric right sides together and the stabilizer on top.
Step 2: Sew around the edges using a 1/4 inch seam
leaving 3 to 4 inches on
one side to turn right side out. Clip
corners and turn. Use a round pointed
object
such as a chopstick to poke out the corners.
Step
3:
Press, making sure all corners are squared and the opening is tucked in-
side so you can sew it closed. We’ll catch that later. Measure the full length of your
fabric, divide the distance
by 3 and turn fabric up the 1/3
distance measurement.
Pin. Using manufacturer’s grommet template, draw the pattern for the grommet in the center near the top. Sew just outside your marked circle before cutting. This will assure all your layers stay together when cutting.
Pin. Using manufacturer’s grommet template, draw the pattern for the grommet in the center near the top. Sew just outside your marked circle before cutting. This will assure all your layers stay together when cutting.
Step 4: It will be easier to sew the edge stitching before you put the grommet in. To do this, start at the bottom corner where the fold is and sew around 3 sides catching the opening you used for turning. Depending on the usage, you may want to backstitch the entrance to the pocket several times. Now take a snip with your scissors in the middle of the grommet circle to give you a starting place. Cut out the hole. Snap in the grommet.
Step 5: To use your pocket for cord storage, simply place the cord you have in the pocket and fold over
Monday, September 1, 2014

Saturday, August 23, 2014
Fall Goody Bag
Isn't this a sweet little soft candy bowl? And you can whip it up in no time flat!

We modified our easy instant gift bag slightly to create this candy dish.
Supplies
1 piece orange fabric 16" square
1 piece green fabric 16" square
1 piece reinforced batting (such as Battilizer) 16" square
Edgestitch foot
Mettler Silk Finish 50 Weight Cotton thread in a contrasting color for topstitching
Mettler Silk Finish 50 Weight Cotton thread in a matching color for assembly
1 1/2 yards brown 3/8" grosgrain ribbon
Instructions
Start by cutting the fabrics and batting to 16" square.
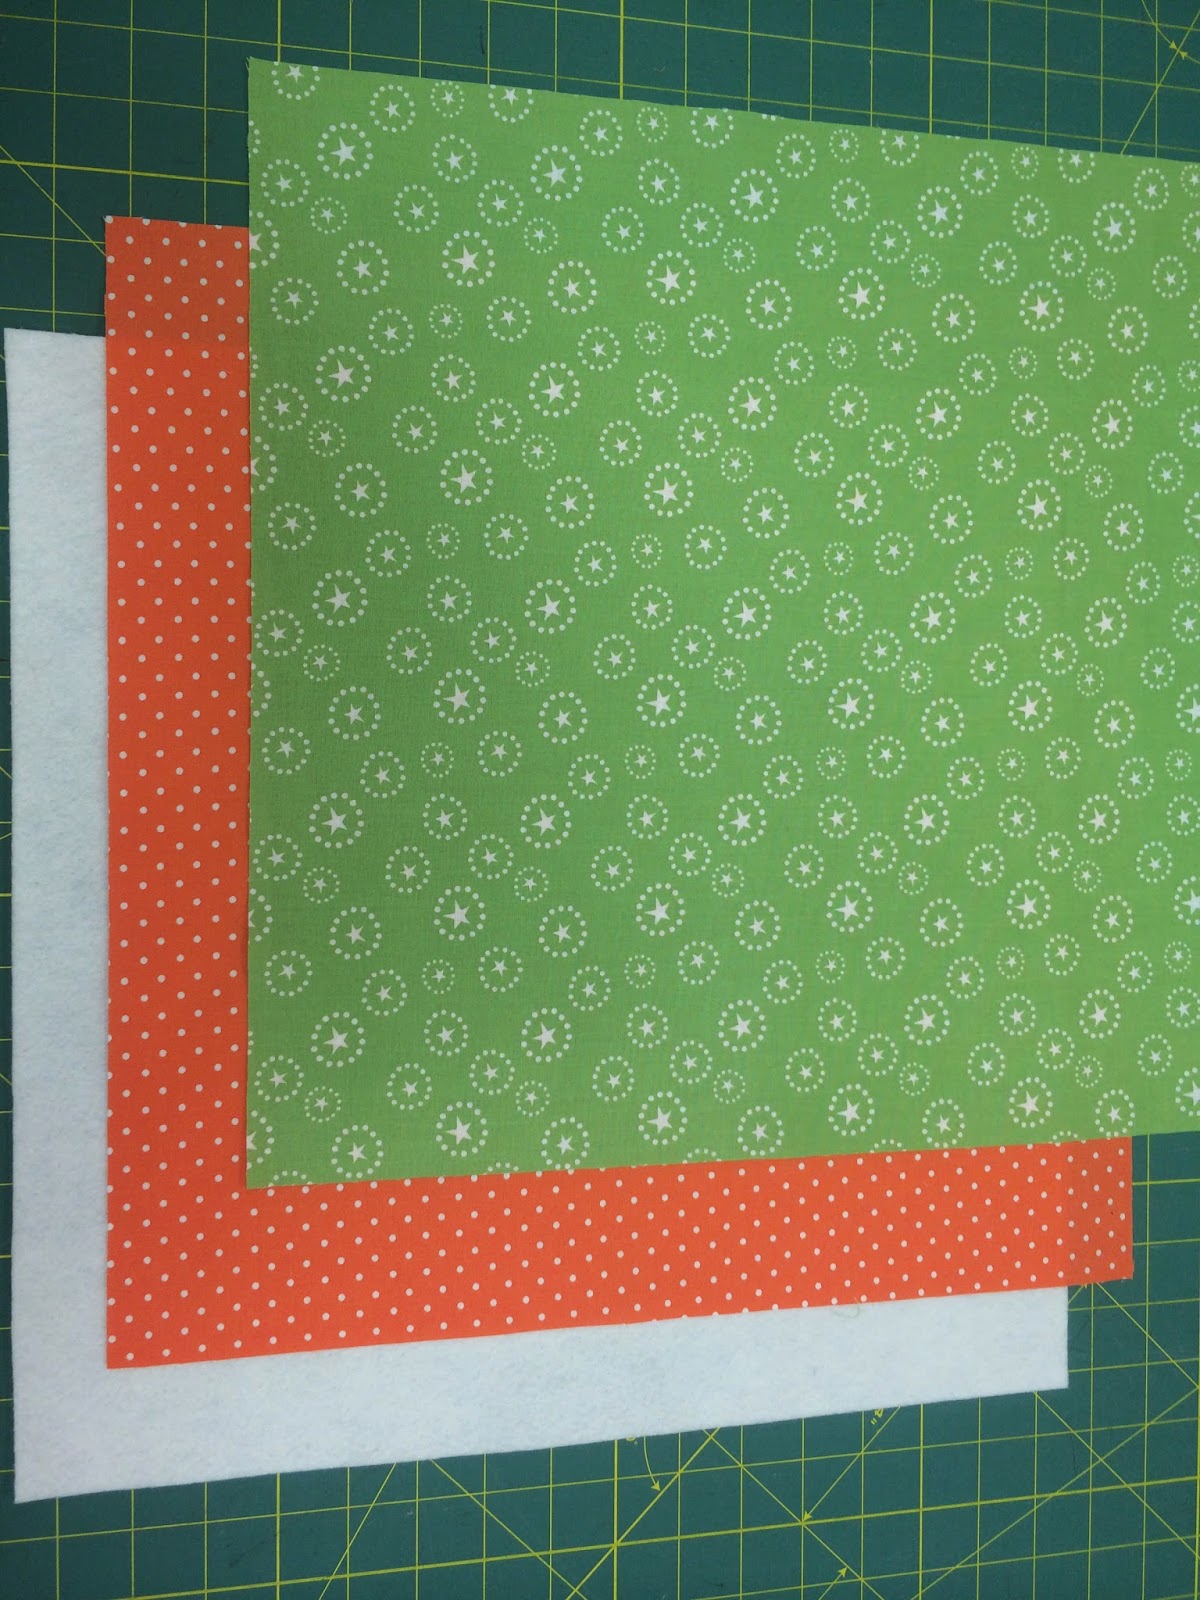
Place the two fabrics right sides together with the batting on top.


Stitch 1/2" from each folded edge of each flap to form a casing for the ribbon. Backstitch at the beginning and end of each flap.

Thread the ribbon through all four casings, using a large safety pin or bodkin to pull it through.

Pull the ribbon tails tight and gather the casings. Tie in a bow and your goody bag is ready to be filled with treats!

We modified our easy instant gift bag slightly to create this candy dish.
Supplies
1 piece orange fabric 16" square
1 piece green fabric 16" square
1 piece reinforced batting (such as Battilizer) 16" square
Edgestitch foot
Mettler Silk Finish 50 Weight Cotton thread in a contrasting color for topstitching
Mettler Silk Finish 50 Weight Cotton thread in a matching color for assembly
1 1/2 yards brown 3/8" grosgrain ribbon
Instructions
Start by cutting the fabrics and batting to 16" square.
Stitch all the way around the square through all layers, using a 1/4" seam. Leave a 5" opening on one side for turning. Be sure to backstitch at the beginning and end.
Clip the corners and turn through the opening.
Tuck in the opening and press. Edgestitch all four sides of the square using a triple or other heavy straight stitch. Stitch the opening closed as you topstitch.
Place the square orange side up. Fold the four corners of the bag toward the center as shown. The folded corners should measure 4" from the fold to the triangle tip. Press in place.
Thread the ribbon through all four casings, using a large safety pin or bodkin to pull it through.
Pull the ribbon tails tight and gather the casings. Tie in a bow and your goody bag is ready to be filled with treats!
Friday, August 22, 2014
Applique Pumpkin Tea Towel
This simple and sweet applique project will bring a little autumn to your kitchen in no time! Find the pattern and instructions below.

Supplies:
Print the Pumpkin Applique Pattern. (Click here to download the pattern.)

Roughly cut out the pattern pieces for the leaves, stem, and pumpkin.
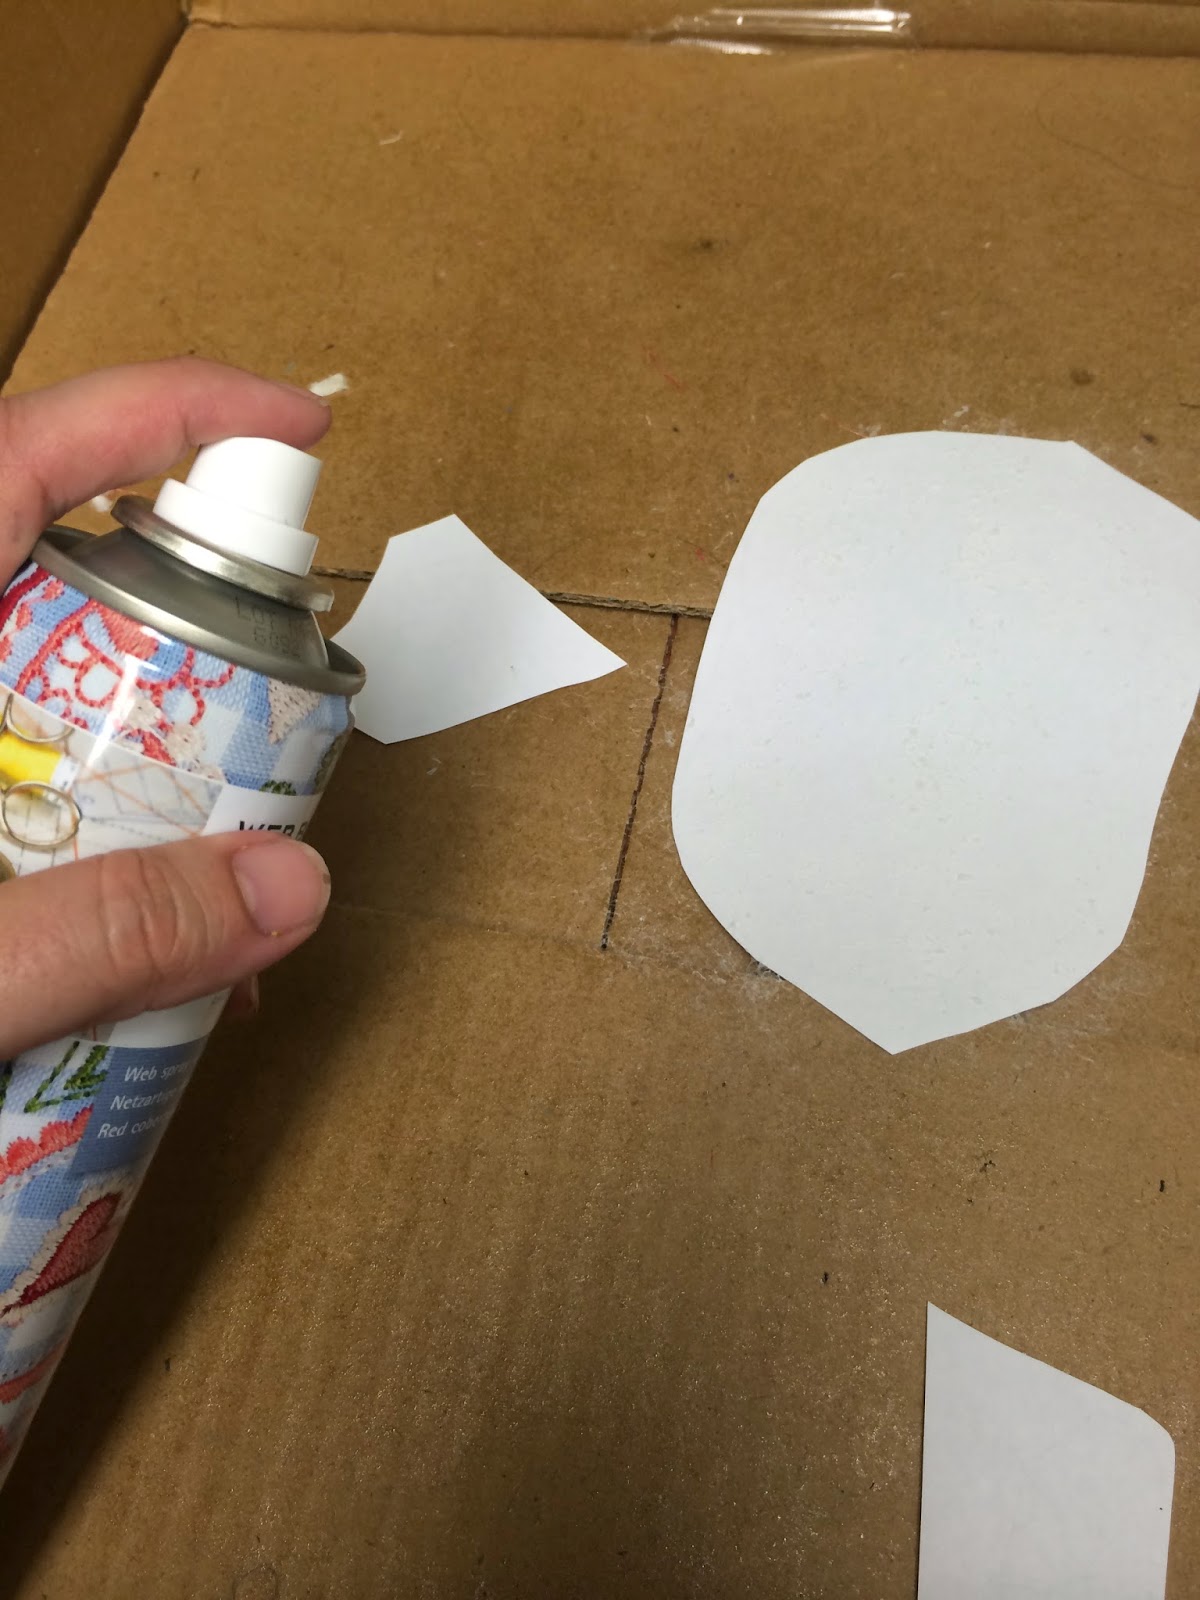
Spray the back of the paper patterns with Web Bond temporary adhesive spray.Apply the paper patterns to the RIGHT side of the applique fabrics and cut out.


Mark the center of the towel by folding it in half lengthwise and pressing it lightly.
Spray the wrong side of the applique fabrics with temporary adhesive spray.

Place the pumpkin in the center of the towel, approximately 2" from the bottom of the towel.

Add the stem and back leaf, tucking them under the pumpkin shape. We put the pumpkin down first to make it easier to center.


Add the second leaf.

Lightly spray a piece of lightweight tear away stabilizer with Web Bond. Place it on the back of the towel, centering it underneath the applique fabrics.

Press the applique fabrics onto the towel to flatten the fabrics and secure the temporary bond of the Web Bond spray.

Trace or sketch the pumpkin vines onto the applique fabrics and towel with a temporary marker.

Select Mettler Silk Finish 50 weight thread in colors to coordinate with your applique pieces. You will need orange, brown, and green.

Thread the machine with Mettler Silk Finish 60 weight cotton neutral colored thread in the bobbin. Thread the top with brown Mettler Silk Finish 50 weight cotton.
Use a 3.5 mm wide satin stitch to stitch around the top three sides of the pumpkin stem.


Thread the machine with green Mettler Silk Finish 50 weight multi. Satin stitch around the top edge of the back leaf with at 3.5 mm wide satin stitch.
Narrow the satin stitch to 2 mm and stitch the back pumpkin vine.

Thread the machine with orange Mettler Silk Finish 50 weight in orange. Stitch around the outside edges of the pumpkin with a 3.5 mm satin stitch.


Thread the machine with green Mettler Silk Finish 50 weight multi. Stitch around the remaining leaf. Narrow the satin stitch to 2 mm. Stitch the remaining pumpkin vines.

Tear Away the excess stabilizer and remove any temporary markings.
Your applique towel is finished and ready to use!
Supplies:
- Mettler Web Bond Temporary Adhesive Spray
- Mettler Silk Finish 60 weight cotton in white or neutral color
- Mettler Silk Finish 50 weight orange (sample used 0902)
- Mettler Silk Finish 60 weight brown (sample used 0618)
- Mettler Silk Finish 60 weight green multi (sample used 9818)
- Scrap of orange fabric (8" by 6")
- Scrap of green fabric (4" square)
- Scrap of brown fabric (3" square)
- Lightweight Tear Away stabilizer (at least 9" square)
- Sharp embroidery needle
- Sewing machine with applique foot
- Cotton Tea Towel (such as Dunroven House Tea Towel in Dijon)
Instructions:
Roughly cut out the pattern pieces for the leaves, stem, and pumpkin.
Spray the back of the paper patterns with Web Bond temporary adhesive spray.Apply the paper patterns to the RIGHT side of the applique fabrics and cut out.
Mark the center of the towel by folding it in half lengthwise and pressing it lightly.
Spray the wrong side of the applique fabrics with temporary adhesive spray.
Place the pumpkin in the center of the towel, approximately 2" from the bottom of the towel.
Add the stem and back leaf, tucking them under the pumpkin shape. We put the pumpkin down first to make it easier to center.
Lightly spray a piece of lightweight tear away stabilizer with Web Bond. Place it on the back of the towel, centering it underneath the applique fabrics.
Press the applique fabrics onto the towel to flatten the fabrics and secure the temporary bond of the Web Bond spray.
Trace or sketch the pumpkin vines onto the applique fabrics and towel with a temporary marker.
Select Mettler Silk Finish 50 weight thread in colors to coordinate with your applique pieces. You will need orange, brown, and green.
Thread the machine with Mettler Silk Finish 60 weight cotton neutral colored thread in the bobbin. Thread the top with brown Mettler Silk Finish 50 weight cotton.
Use a 3.5 mm wide satin stitch to stitch around the top three sides of the pumpkin stem.
Thread the machine with green Mettler Silk Finish 50 weight multi. Satin stitch around the top edge of the back leaf with at 3.5 mm wide satin stitch.
Narrow the satin stitch to 2 mm and stitch the back pumpkin vine.
Thread the machine with orange Mettler Silk Finish 50 weight in orange. Stitch around the outside edges of the pumpkin with a 3.5 mm satin stitch.
Thread the machine with green Mettler Silk Finish 50 weight multi. Stitch around the remaining leaf. Narrow the satin stitch to 2 mm. Stitch the remaining pumpkin vines.
Tear Away the excess stabilizer and remove any temporary markings.
Your applique towel is finished and ready to use!
Subscribe to:
Posts (Atom)